Blog
Latest Posts
-
SSH
Creating Keys
Here are my basic instructions for generating SSH keys and setting them up with a server.
Generate your keys:
ssh-keygen -f ~/.ssh/id_rsa -b 4096 -C "my ssh keys for homelab jumpbox" -P ''
-C> add a comment optional.
-P ''> Set password to blank optionaly insert a password intbewtween the quotes.Ensure the SSH agent is started:
eval "$(ssh-agent -s)Should return the pid of the agent e.g.:
>Agent pid 12345Add your keys (replace id_rsa with file name of your ssh keys):
ssh-add ~/.ssh/id_rsaAdd your keys to the remote server:
ssh-copy-id -i ~/path/to/ssh/public_key USER@IP_ADDRESSNow you can log in to the remote device using your SSH keys with:
ssh user@IP_ADDRESSUseful command to remove a host from your “known_hosts” file, replacing the home directory and host with those specific to your setup:
ssh-keygen -f "/home/user/.ssh/known_hosts" -R "10.10.10.10"If you want to add the public key to github. Go to:
Settings > SSH and GPG Lyes > New SSH KeyPaste in your SSH public key and give it an appropriate name and description, your good to go.Enabling SSH Server
Install Open SSH:
sudo dnf install openssh-serverEnable the
sshdservice:
sudo systemctl start sshdCheck the status:
sudo systemctl status sshdCheck that the port is now available for connections (ss is a socket information tool):
ss ss -ltChange Port
To change the default port under Fedora Linux, and in any other Linux distribution for that matter, requires a change to the default port option in
/etc/ssh/sshd_configto the port number you want to use.
Edit the configuration file manually and change the line# Port 22toPort 2222as an example.Here is a sed command to automate this step:
sed -i -e 's/^#?Port 22/Port 2222/g' /etc/ssh/sshd_configYou should also change the port assignment in systemd socket (only some platforms.) Run the following command to determine if you’ve to do this on your Linux distribution, if the files exists an editor will open (skip this if the a message says the file doesn’t exist:
systemctl edit sshd.socketAdd the following lines into the
Socketsection (the line without a value removes any previous port number assignments):[Socket] ListenStream= ListenStream=722Fedora will also need SE Linux and FirewallD permission and rules changing.
SELinux will by default expect incoming SSH connections to go over port 22, this policy will be adopted to allow traffic on the new port.
THis is done with thesemanagecommand, the first command adds the new port to the existingssh_port_tpolicy, the second one verifies that it is now present:
semanage port -a -t ssh_port_t -p tcp 722
semanage port -l | grep ssh_port_tThen use the
firewall-cmdto add the specific port and remove port 22 from the firewall polices for SSH.
Add the new port:
firewall-cmd --permanent --service="ssh" --add-port "722/tcp"Reload the firewall:
firewall-cmd --reload
Reload SSH daemon:
systemctl reload sshdNow reconnect to the server on the new port to ensure that all is functioning as desired, if it is you can then remove port 22 from the firewall rules:
firewall-cmd --permanent --service="ssh" --remove-port "22/tcp"
firewall-cmd --reloadSource: https://www.ctrl.blog/entry/how-to-alternate-ssh-port-fedora.html
OPNsesnse NAT Port forward rule
Create a rule with the following parameters assigned (changing the ports to appropriate outside and inside target port numbers):
Interface: WAN
TCP/IP Version: IPv4
Protocol: TCP
Destination: WAN Address
Destination port range: SSH
Redirect target IP: 10.10.10.10
Description: 10.10.10.10 SSH Access
Filter Rule Association: Pass
Don’t forget the Filter Rule Association as I spent and age once trying to work out why a NAT rule wasn’t working and I hadn’t set this to pass.
Disabling Password Based Authentication
Before you do this ensure your SSH keys are backed up or you have multiple set up so if a machine dies you can still get to the server.
Edit the
/etc/ssh/sshd_configfile and cchange the following line:
PasswordAuthentication yes
To:
PasswordAuthentication noRestart the SSH daemon:
sudo systemctl restart sshdDone.
-
BlackBox and btop
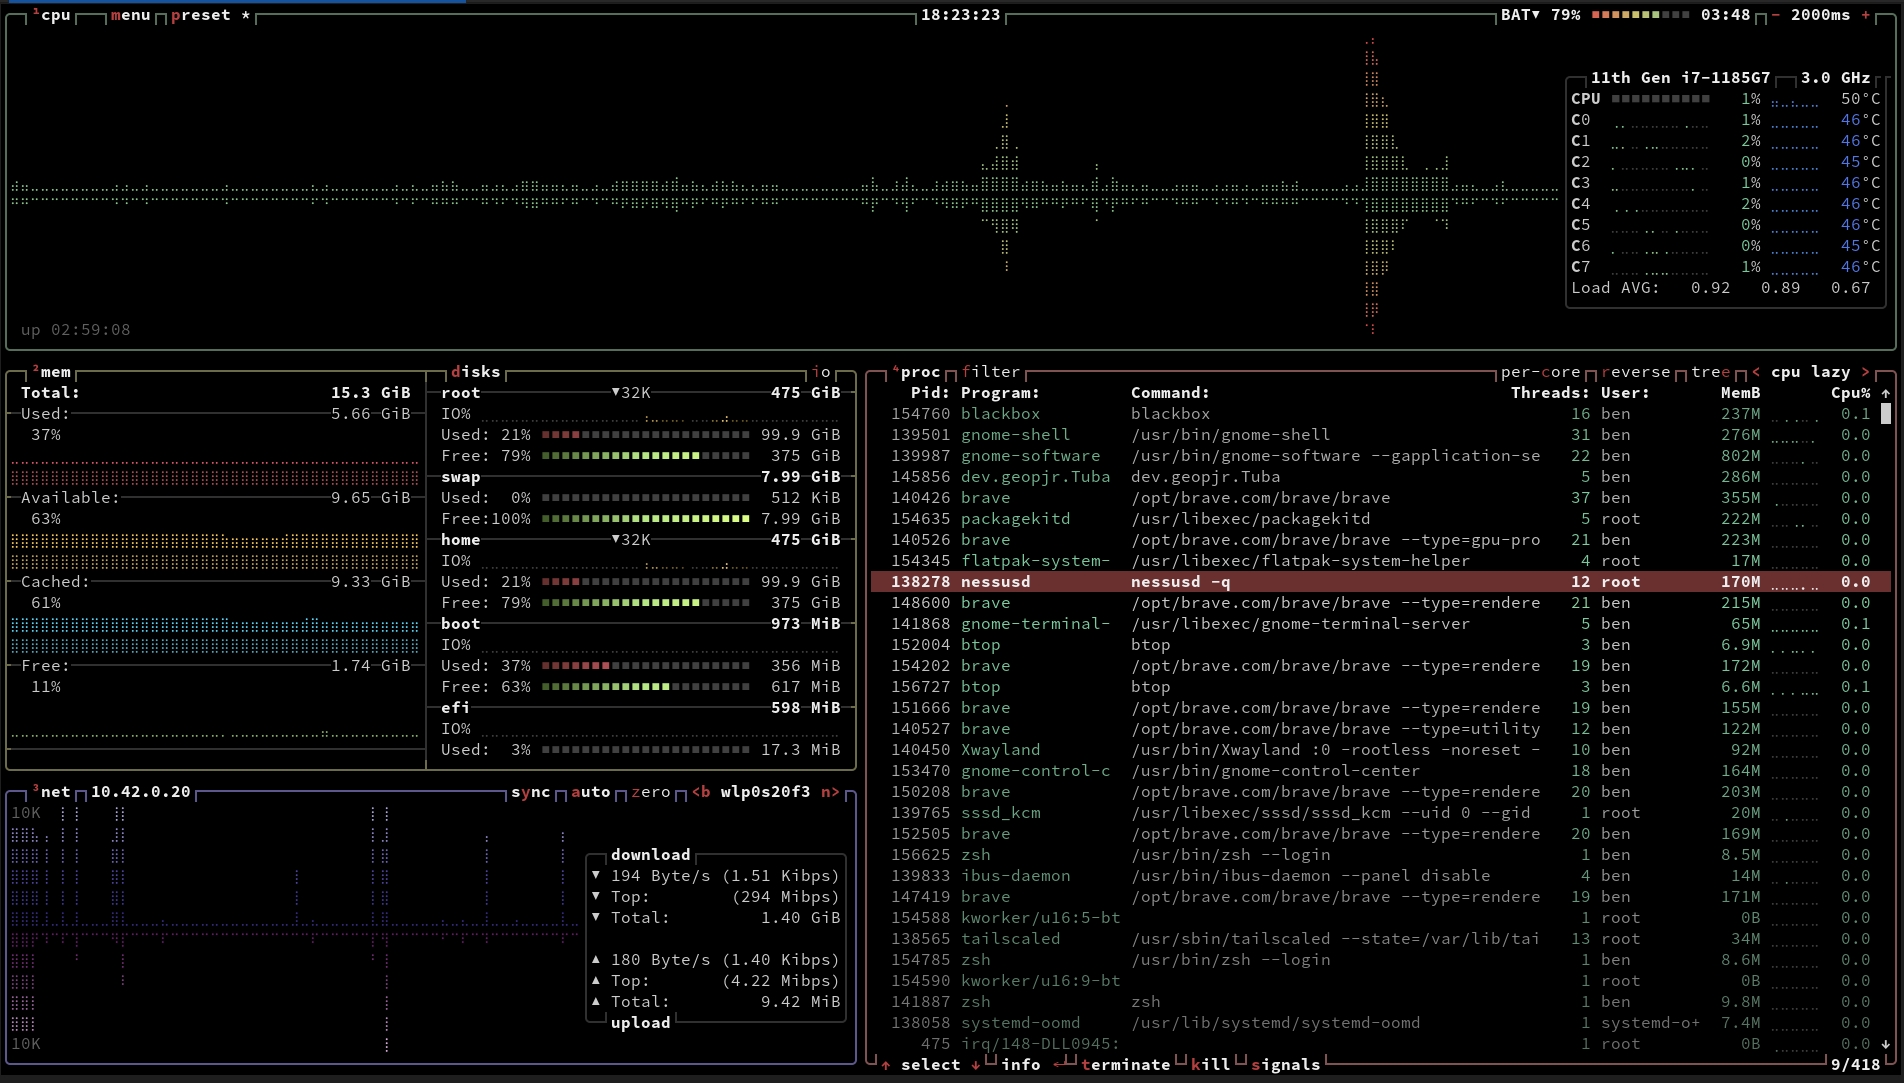 While browsing the information super highway I discovered some cool new tools for Linux today. The first is a pretty slick looking top replacement called btop, it displays and information dense view of the current and ongoing systems metrics. Memory usage, RAM usage, CPU usage, and network statistics. It’s easy to navigate and can be highly cusomtisable, though I’ve found it’s default configuration to be excellent as it is.
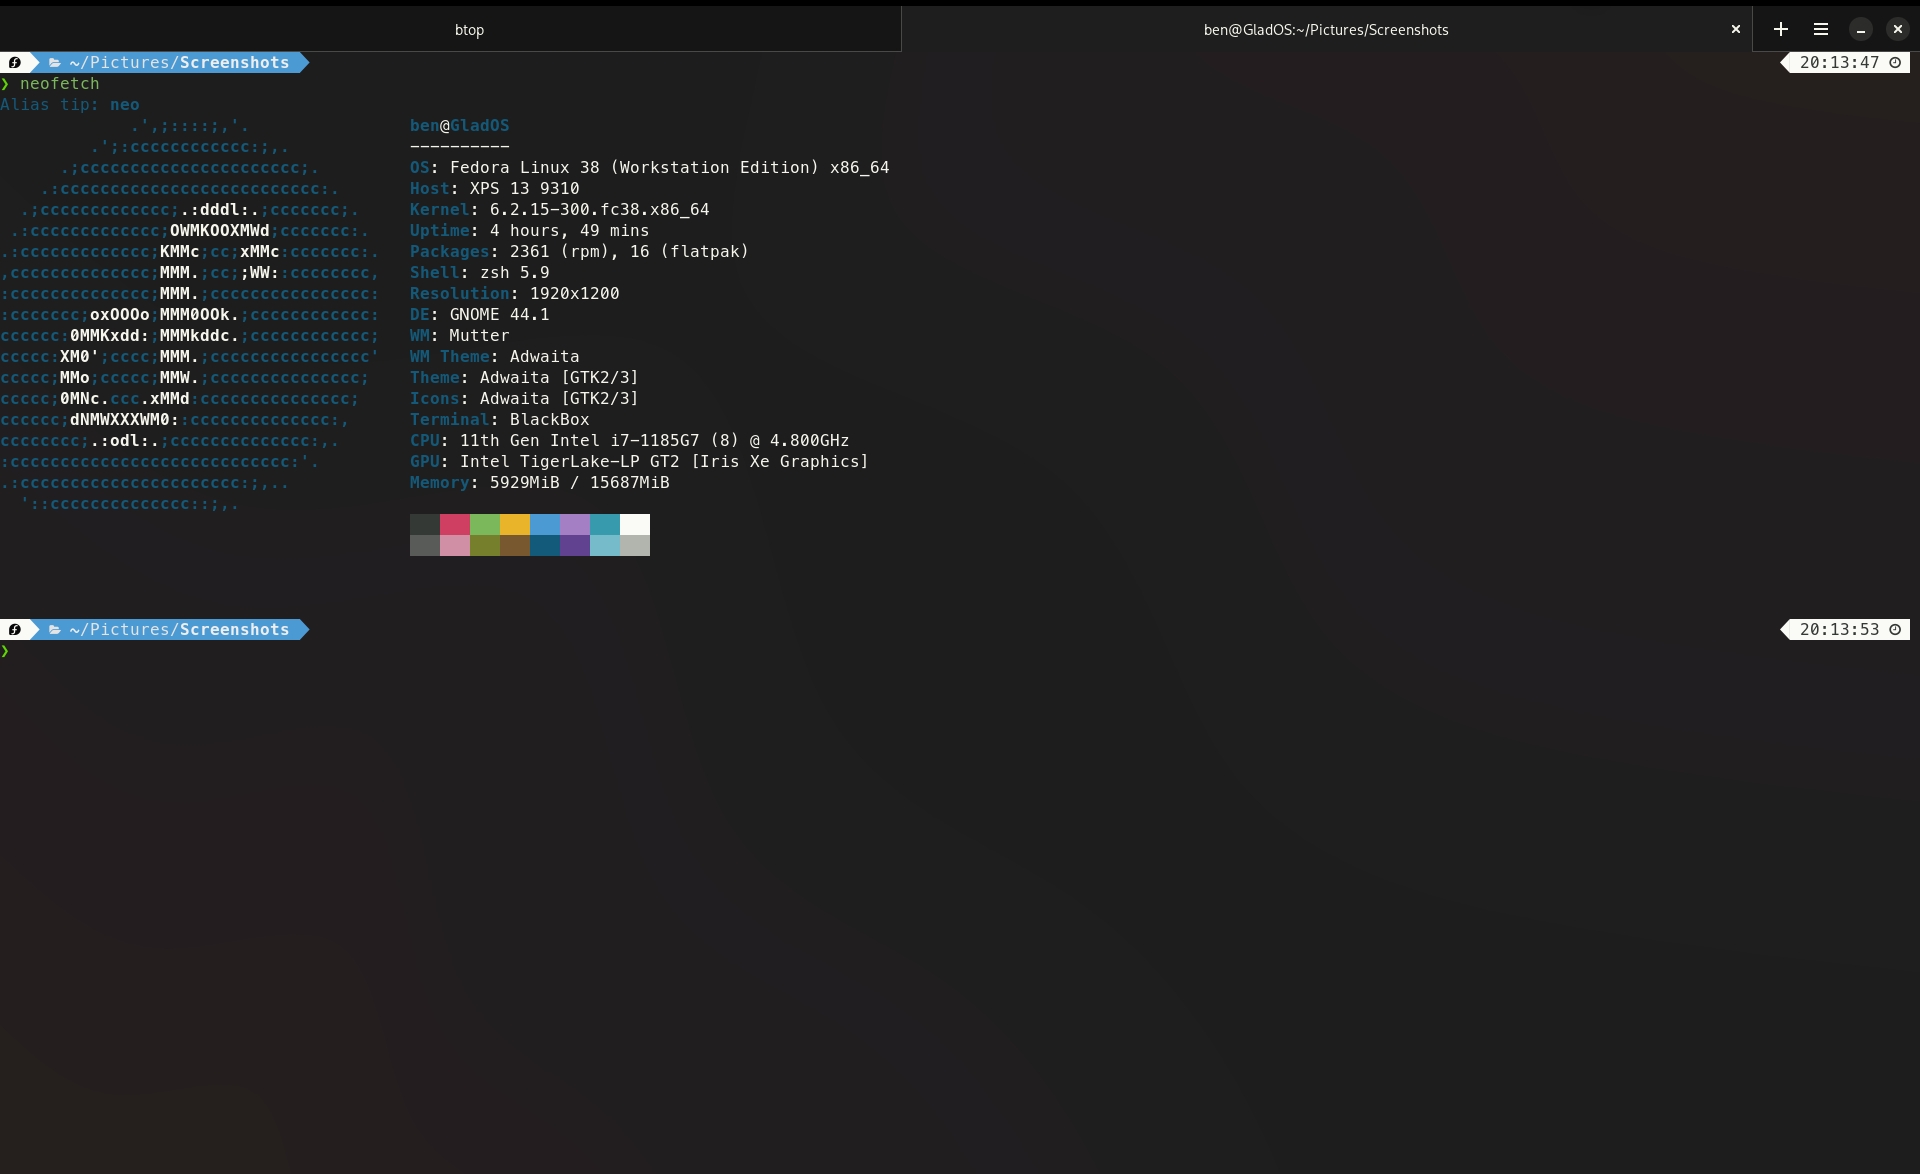 The second great find is a new terminal application, this one is called Black Box and it’s beautiful. It’s built from the ground up for GTK4 and it’s font rendering is a world above that of the default Gnome terminal, as well as having support for custom keyboard shortcuts too. It’s available as a flatpak or you can of course build it from source. It has experimental support for Sixel for rendering images within the terminal too, which is neat though no idea how to get it to work so far.
 -
Passkeys
After I set up passkeys on my Google account and not getting prompted for my Yubikey as a second factor I posed the following question on mastodon the other day about passkeys:
“#Passkeys question, I have Yubikeys set as the second factor on numerous accounts. What if I want to use passkey for those accounts stored on a Yubikey, will using passkey mean I need an OTP code or have to use a different Yubikey? Or will passkeys eliminate the second factor as it has seemed to do with my Google account, I just signed in using a passkey and wasn’t asked for my second factor. I should have really done far more reading on this matter.”
I had some suggestions (some assumption about my age too, “Some of you don’t remember a time without 2FA”, my man I first used 2FA back in 1999 to get onto the corporate VPN over dial up, it was a dongle about the size of an AirPod case) about the how and why but nothing from anyone in the know or anything pointing me in the right direction, so I’ve done what I should of done before enabling Google’s passkeys implementation on my account, actually read up on them
First thing I learned, which is obvious in hindsight, passkeys are 2FA in themselves. this is explained in Googles documentation. On Android and iOS device as the key itself is one factor, something you have. The biometric identification whether that’s a fingerprint or Face ID, is the second factor, something you are. So that makes sense for 2FA replacement.
Next I wanted to know about using a passkey with a security key, how would you implement 2FA then. Unfortunately I can’t set up one of my Yubikeys with Googles passkeys or find any documentation on it. I also can’t set it to be used as the something I have within Google security settings. The guidance on using security keys with passkeys is not there yet either, the passkeys site says it’s coming soon and Google doesn’t have any. I think this is because the big roll out at present is focused on the consumer centric iteration and not the business corporate security centric version. Things like non-synchronised passkeys, security keys as second/third factor authentication are there in the WebAthen documentation just not focused on explaining in a less technical manor, or from what I can see implemented in Googles or Apples current itteration of passkeys. I haven’t looked into Micrsofts rollout yet, thought I don’t think their even as far ahead as Google and Apple are, and I am frankly not reading Microsoft documentaion on my own time.
I may dig into the full documentation about it but a lot of it is beyond my understanding as it goes into the technical details and specifications which is more information than I need or wish to understand on the matter. So I will more than likely wait for the end user guidance when it comes out.
Googles passkeys explainer.
Googles passkeys FAQ
FIDO Alliance passkeys FAQ
W3C technical documentaiont on WebAuthenticaion -
How to setup your Yubikey for Sudo Authorisations
The basics of adding a Yubikey to be used to authorise
sudocommands on a Debian Linux machine.First install the required
pammodule:
sudo apt install libpam-u2fCreate the configuration folder for the U2F keys config file:
mkdir ~/.config/YubikeyRegister your Yubikey into the configuration file in the directory you created:
pamu2fcfg > ~/.config/Yubikey/u2f_keys
You will be prompted for your keys pin (if set, it should be!) and required to touch the key as normal to register it.To register additional keys use the following command:
pamu2fcfg -n >> ~/.config/Yubico/u2f_keysNow you need to add a line to the
/etc/pam.d/sudofile to enable the key.
Add the lineauth sufficient pam_u2f.soafter thesessionentries and before the line@include common-auth, then save but do not close the file.
If you want to make it 2FA instead of just authorisation the line would beauth required pam_u2f.so.Open a new terminal window to test the configuration is working:
sudo echo SUCCESSIf that works as expected, waiting on the touch of the Yubikey you are now OK to close the
/etc/pam.d/sudofile, if not check for typos or revert before debugging.These are instructions simplified for the one purpose I was after from the Yubico guide, which goes into more details and use cases.. https://support.yubico.com/hc/en-us/articles/360016649099-Ubuntu-Linux-Login-Guide-U2F
-
Wireguard Peer Config and Setup
This is some basic instructions for setting up Peers for Wireguard when routing traffic through a central interface. In my circumstances it is mostly for accessing my home network and using my DNS servers when on mobile. I am working on a setup with Wireguard installed on my OPNSense router (I followed acombination of the OPNSense Road Warrior and Digital Ocean guides linked below).
Install wireguard:
sudo apt installSet up the link:
sudo ip link add dev wg0 type wireguardGenerate a public/private key pare:
wg genkey | tee private.key | wg pubkey public.keyAdd the information to the config file in the wireguard directory:
/etc/wireguard/wg0.conf
Replacewg0.confwith the name of the connection if notwg0.Example
.conffile:[interface] # Host Private Key PrivateKey = alkdfnaXdsaoDcasdkcnmaldop0o3240fd2030293j2= # Host IP address Address = 10.10.10.1/32 # Global DNS server to use DNS = 1.1.1.1 # List any peers here [Peer] # Serve/Peer public key PublicKey = er8M9cwuahdnfalkdfhaoisdnfalGhRETPqpvCjiCljis= # The IPs to route over wireguard 0.0.0.0/0 for all, or other CIDR ranges AllowedIPs = 0.0.0.0/0 # The public endpoint of the wireguard server Endpoint = 42.47.11.38:12345Pass through qrencode to scan into the mobile app if necessary:
sudo apt install qrencodeqrencode -t ansiutf8 < wg0.confIt is worth moving the
private.keyto the wireguard directory and removing permissions from it and the.conffile so onlyrootuser has any access to them, ensure private keys are kept secret:
sudo chmod go= /etc/wireguard/wg0.confsudo mv private.key /etc/wireguard/private.key && sudo chmod go= /etc/wireguard/private.keyTest the connection, enable wireguard connection:
sudo wg-quick up wg0Disable wireguard connection:
sudo wg-quick down wg0Some useful links
Wireguard GUI for debian based linux distributions, adds system tray icon and simple toggle:
https://github.com/UnnoTed/wireguirdOPNSense Wireguard Road Warrior setup, I used most steps to set up on my router:
https://docs.opnsense.org/manual/how-tos/wireguard-client.htmlWireguard homepage:
https://wireguard.comDigital Oceans Wireguard setup guide is very useful and more featured than Wireguards’ own one:
https://www.digitalocean.com/community/tutorials/how-to-set-up-wireguard-on-ubuntu-20-04 -
Tailscale App Intent Settings For Automation
Settings for Android App intents for conecting and disconnecting Tailscale VPN, for use in automation like Tasker.
I use it to connect to Tailscale when I leave my home WiFi network and disconnect again when join the home network.
These settings can be used to in the “Send Intent” action within Tasker. Any fields not mentioned should be left blank.Tailscale Up:
Action: com.tailscale.ipn.CONNECT_VPN
Package: com.tailscale.ipn
Class: com.tailscale.ipn.IPNReceiver
Target: Broadcast ReceiverTailscale Down:
Action: com.tailscale.ipn.DISCONNECT_VPN
Package: com.tailscale.ipn
Class: com.tailscale.ipn.IPNReceiver
Target: Broadcast ReceiverThese should be set up as tasks within Tasker, which can then be called in the Profiles you create.
I created a connected and disconnected profile for my home network which called the appropriate intent. -
A Simple Clock Progressive Web App

I built a simple clock app and made it into a progressive web app over the last week. I’m back playing with web development and JavaScript and wanted to see how siple it was to make a Progressive Web App (PWA). It turns out it was fairly simple, I used this guide over one freecodecamp.org, I love that site. I just took out the bits I needed from the article and adapted them to my own JS Clock. I actually ended up hosting the Clock and azure too, which was a nice little additional learning exercise, not really much to earn it’s very plug and play from the github source code. Have a look at the source if you like, let me know if you think I can make some improvements, I’m just learning JS. The app can be found linked on my projects page and here: https://clock.securelee.uk
-
iOS Custom URL for VPN and DNS Shortcuts
I was trying to get an easy way to automate toggling my Wireguard VPN conection on and off when I left the house or for certain times of day. Unfortunately wiht the standard iOS settings or the Wireguard app there is no way to autmoate this that I have found. I did however discover some custom URLs for getting to certain VPN and DNS settings via shortcuts. So I can get all the way to the VPN setting but there is no way to make it toggle as far as I can tell. here are all the URL’s I discovered while looking into this, as most guides still refer to the VPN shortcut the old way. I found this list useful in my research, though it is out of date.
-
My first Capture the Flag
I have recently been participating in the UK Governments Upskill in Cyber initiative, which I have completed my SANS GFACT and GSEC exams. As a celebration of the end of the learning part of the course they put on a Capture the Flag event for us. It was my first time participating in such and event, though I had played First Person Shooters but this is something very different.
-
I passed my GSEC Exam today
GFACT Passed
-
Setting up Wireguard for a personal Virtual Private Network.
 I just wanted access to my PiHole on my mobile when out of the house so I could get the tracking benefits when out of the house. I was surprised to find Wireguard was relatively simple to set up configure and deploy for my small use case of a desktop, Raspberry Pi, Mobile, iPad, and laptop.
I did run into a small issue with a typo in my config file, which took me an hour to spot, even after I’d spotted it in the script I created to automate adding peers.
I just wanted access to my PiHole on my mobile when out of the house so I could get the tracking benefits when out of the house. I was surprised to find Wireguard was relatively simple to set up configure and deploy for my small use case of a desktop, Raspberry Pi, Mobile, iPad, and laptop.
I did run into a small issue with a typo in my config file, which took me an hour to spot, even after I’d spotted it in the script I created to automate adding peers. -
ZSH style autocomplete in PowerShell with PSReadline
I went looking for a way to get ZSH style AutoComplete where it shows commands from youor history as you type and you can complete with a tap of the right arrow. And I came a cross PSReadline, a powerful PowerSHell model that does autocomplete exactly how I wanted it and so much more. I am using it mostly for the autocomplete functionality but if you have a read through it’s default profile, there are some great additional things it can do.
-
Ubuntu 22.04, a Goodix Fingerprint Reader, and an XPS 13
I had a really annoying problem where I couldn’t get the fingerprint reader working on my Dell XPS 13 after installing Ubuntu 22.04. Turns out there was a bug in the released drivers and Dell hadn’t picked it up when certifying the release for this device. My fingerprint reader is a Goodix Technology one, which doesn’t offer open source drivers itself either so couldn’t fall back to those.
-
Auto list contents after changing directory
Hot tip if you use zsh, which I do. I pretty much always want to list the contents of a directory after I
cdinto it, which you can achieve using zsh hook functions. Just add the following to your .zshrc and your good to go, this can be used to run any command you like after a directory change.function chpwd() { ls } -
Generating and Adding SSH Keys
I always forget to transfer my keys and never remeber the command s to generte new ones, So here are my basic instructions for generating SSH keys and setting them up with Github and a server.
-
Enable full right click context menu in Windows 11.
To enable the full right click context menu in Windows 11, hat tip to PC Pro a paper magazine I still get occasionally.
Go to the registy key:
HKEY_CURRENT_USER\SOFTWARE\CLASSES\CLSID -
Using CMD to create individual archives of multiple folders.
Using the command line in Windows to create and individual zip archive of multiple folders.
-
Docker volume location in WSL2
The location where Docker stores the data for volumes created when using it in WSL2 mode:
\\wsl.localhost\docker-desktop-data\data\docker\volumesThis has moved several times over it’s lifetime so far and may move again in the future.
-
I passed my GFACT Exam today
GFACT Passed
-
Setting up ZSH on linux with antigen and powerlevel10k
Here is my setup for my shell in linux, I use antigen to manage plugins and Powerlevel10k them by Roman Perepelitsa. All commands assume you are in your home directory.
First things first is to install some dependencies (some others that I always need installed too):